Thursday, 30 January 2014

FMP: Test character

In order to learn how to deal with animating and exporting a mesh from 3Ds Max to Cryengine I decided to build test character. I used an early sculpt from Ubisoft project. It didn't take me long to change the face and make some clothes. I tried to have it easy to rig and animate.

I finally decided to seriously use Zremesher. It required some fiddling, like specifying the edge flow and density (by using polypaint), but in the end I got a fair result ready for futher work in Max.


Mesh was still to high poly at that point so I removed edges and used relax tool.


Diffuse map is made mainly from Ambient Occlusion and as you can see I stole hands and boots from Ubisoft project.


There, there. Isn't she beautiful.


Thursday, 23 January 2014

FMP: Trees

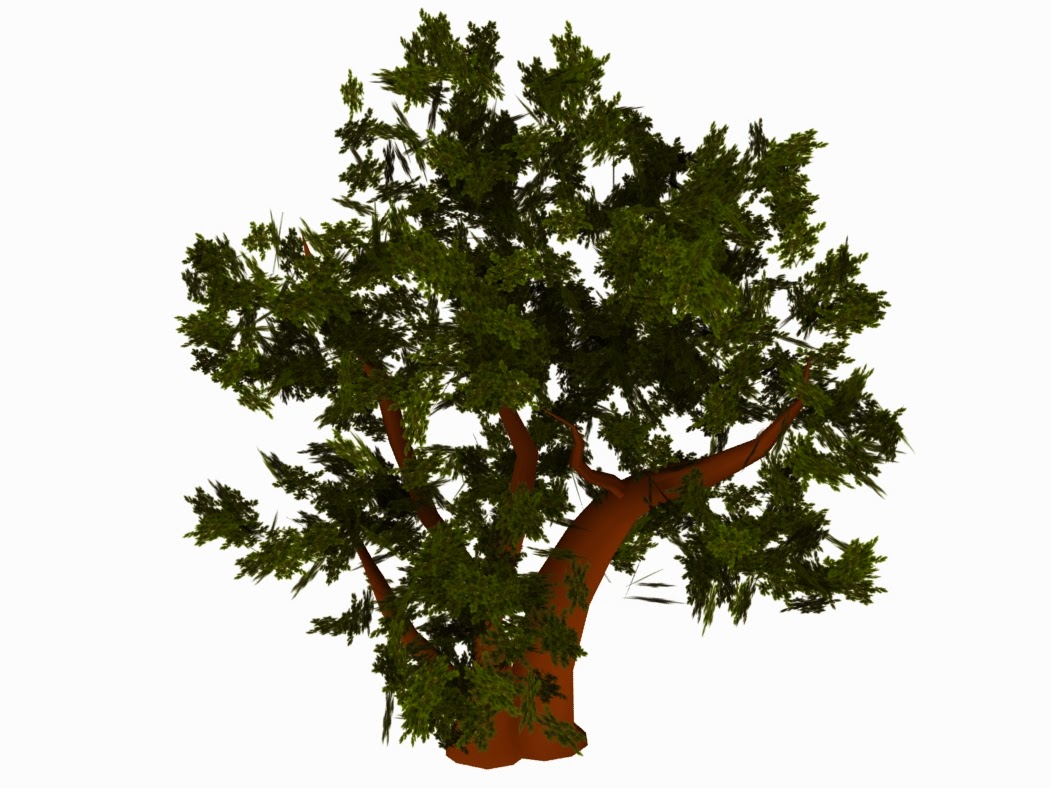
I have 4 kinds of trees almost done. I just need to finish bark textures and adjust foliage. Branches are too planar right now. Also I'm worried about poly count, as for now each tree has less than 2 000 triangles which seems way too high considering I have to build a forest.


Oak is about 3 000 triangles but I want it huge that's why I put additional edges in the trunk.

FMP: Character

I enjoy making environments but I enjoy characters a lot more. Therefore I started designing my character in the middle of designing an environment.

I've been collecting reference images practically since summer break. It's mostly from Tumblr because, apart from ruining my life by stealing 90% of my free time, it's a great source of inspiration. Tumblr also gives you porn, incest and gross things - all in the form of fanart - which must be the worst possible mixture for human brain. Fortunately this is not what I usually see on my dashboard.


 This beautiful cape was worn by Elizabeth Taylor for iconic scenes in 1963 film Cleopatra. I think this would give a nice symbolic touch to my character since the girl would be either running away from something or trying to rescue someone. Both of these refer to freedom.


Although I cannot imagine anyone running around the forest wearing a golden cape. It's both dangerous and bloody uncomfortable. Having it made from something else wouldn't probably give the same effect. I was thinking about real feathers as well but that would be too much.


My other idea was to refer directly to one of Grimm's tales. There's a girl whose father wants to marry her and she agrees provided he will give her a cape made of 1000 different animal furs. (He gets that cape and the girl finally runs away)


Fur cape seems like a nice option, although I wouldn't make it too big considering I'd have to rig and animate it. Maybe something a little bit shorter?


I'll keep looking for something good.


*   *   *


After having too much Tumblr I started painting some silhouettes.


My two favourites are 2nd and last one. The hood has that triangle shape which is quite powerful when it comes to overall silhouette. Then again it may be too generic. When you hear 'girl in the hood' you instantly think Red Riding Hood. The last silhouette includes a short fur cape.


Finally I was able to paint some faces! It's something I'm comfortable with and I was treat it as a warm up. 

I want my character to be quite pale with bright blue eyes and blond or dark blond hair.


And why not have some face paint too...?

Wednesday, 15 January 2014

FMP: Trees research

Since I decided to draw my inspirations from both Grimm's tales and Slavonic mythology, more research needs to be done. What kind of forest will it be? What plants specifically? What weather?
Slavic lands are basically Easter Europe and I'm going to focus exactly on this area. Climate of Eastern Europe is temperate which means there's a huge variety of vegetation all over the place. The average temperature ranges from 0 °C do 10 °C, and precipitation occurs in different seasons. The most typical plant formation in colder parts is taiga, while warmer parts are covered with deciduous and mixed forest. Seasons are easily distinguishable and determined by temperature (warm, humid spring, warm, usually dry summer, cold, humid autumn and winter, often with snow). What I'm looking for then is a humid environment with a choice of rather common vegetation. 


Here's a big fat oak. They get absolutely huge and live for centuries. Their trunks often 'open' creating a sort of a cave inside, which always make people want to peak inside. 


 Birch would a nice differentiation from brown and green trunks.


Mountain ash has beautiful red berries which will bring some colour to my forest.


And conifers.


Spruce. 


...and a pine. 


It would be fantastic to make at least those trees. I'd have to speed up. With my attention to detail it will take me awfully loads of time to build five kinds of trees.


Tuesday, 14 January 2014

FMP: Whiteboxing

I decided to have at least three separate scenes within a level. Since it's a Grimm's environment I can allow myself for a little bit of magic. My dream is to create a portal door that would take me from one location to another, while you're actually able to look through it. The best example is probably Portal series.


You open a portal, see right through it to a different location and just enter it. I found this article on Gamasutra.com, basically explaining the effect of teleportation. There is also a code but unfortunately it's written in Blitz3D which gives me absolutely nothing. I will keep looking although I doubt I will find anything.

Here's a quick whitebox of my first scene.


This is basically a walk through the forest. It will spawn near the lake with my protagonist waking up on the muddy bank. I shall consider dead bodies laying around as well.

On the other end there's a wooden shack - the place with a portal door.


 The wooden shack will be a witch's place. I want to resemble a candy house from Hansel and Gretel but perhaps in much darker version.


Saturday, 11 January 2014

Character: Rigging

Rigging is always the worst part of every character project. I feel sorry for animation people. They must hate their lives.

The whole process is pretty straight forward but it's just so boring. Envelopes never apply correctly. You always end up assigning each and every vertex to a specific bone. You also need to specify how strongly this vertex is affected by that bone. My character was only 10.000 triangles. I can't imagine animating anything higher that that.
Although I spend so much time to make sure my topology was correct, some things just didn't work out. I probably should have a separate bone for skirt and maybe increase the density in the middle so it would stretch better. 


Face required some more attention as well. 

All in all I was able to strike a nice pose and render it for presentation purposes. 


I am quite pleased with the outcome. Although there are some places requiring attention, like bottom deel where texture is a bit stretched. I managed to cover it up with dirt but it's still not perfect. I think I will push it forward to present in my portfolio. It wouldn't hurt to make more weapons?


Wednesday, 8 January 2014

Character: Texturing

I was almost relieved to start texturing. Even though it's a long process, it's quite fun because I get to decide how my final model will look like.

I still have to build smaller elements like hands and boots.


 I decided to go with traditional Mongolian boots.


Quick unwrapping...


...and I was ready to open Photoshop.

But before that baking was in order. Again I had to use both Xnormal and Max and merge then together. The good thing about Xnormal is that it gives more depth and is much better for organic meshes, like in this case cloths. Unfortunately if the retopologized mesh differs too much from the sculpt, it will not catch the detail properly and leave it as a black hole which has to be later painted over in Photoshop. On the other hand, Projection modifier in 3Ds Max gives you possibility of adjusting baking cage however you want so you can avoid error. It also makes everything flatter. Therefore I think it's good to bake the same normal map in both programs and mask it nicely together in Photoshop using soft brush.


I am a silly person thus I made all the little elements separately.


I still don't know why shaded viewport can't cope with alpha channel. But it makes me happy. I hope I will never find a solution.


Saturday, 4 January 2014

Character: Retopologizing

Christmas had come and gone. It is absolutely impossible to do any kind of work while your family is constantly around. Even though I took the trouble of taking my desktop back to my mom's place, I didn't use it as much as I hoped to.

What I've managed to do is to finish my sculpting and start retopologizing. One of the many things I detest in this world. I am awfully picky about the edge flow, constantly looking at my work with highest criticism. This obviously makes me work slower.


I redid some parts several times to make sure they're correct.


This is the finished face, with baked normal map and polypaint texture. I also put a very subtle specular map to give it a little bit of organic look. I will need to draw a gloss map as well.

I ended up with 2 728 triangles which, considering our budget of 15 000 triangles, is quite alright. I expect the hands to be 1 000 each and that leaves me with 10 000 triangles for the rest of the body. Seems fair.


I had huge issues with smoothing groups. I tried turning the edges around many times, even messed up with Edit Normals modifier too, which only made everything worse. I always seem to have the exact same issue with character meshes, especially faces. This happens mostly around the nose, eyes and lips - so pretty much everything with more complex geometry.

I thought maybe if I bake down a normal map (using Xnormal) this will disappear. It didn't. While I was baking an ambient occlusion in Max this time, I decided to bake another normal map and see how that works. It did work much better. It's actually quite surprising to get a better result with Max. In the end I merged together those two maps and the effect is quite satisfying. It still has a little bit of smoothing problem around the nose but after setting up the light it should give a nice render.


Since the ears are going to be hidden by hat and hair I just decided to not do them at all.


Retopologizing the upper body part was tricky. I still haven't baked it down so I have no idea of it's going to be any good.

To create the deel in Zbrush I used extract tool, so I have my masked area extracted as a separate subtool. What I forgot about is that it creates both outside and inside layer. It is then a closed mesh. When I imported it in Max and set up to retopologize, my lowpoly kept snapping to the insides instead of outsides. The layer is thick enough it actually makes a difference. Also it would not bake correctly. I can't delete the insides because it's all the same polygroup. There's not enough access and it would take me ages to manually get rid of it. In the end I just pulled the surface to match the outside of highpoly as close as possible.


I am currently retopologizing the rest of the body which shouldn't take much time now. Considering I have the worst behind me. 

FMP: Moodboards


Simply experimenting with colour schemes and trying to focus on creating a right atmosphere.